


Eä is a living breathing world full of majestic, distant and dangerous landscapes. So naturally it is the bases on which your mighty forces stand that tells tales of bitter conflict, conquest, defeat and glorious victory!
A base does a lot more than just adding visual interest to your favorite miniatures, it helps complete the story of your army and ties all your miniatures together into a visually cohesive force.
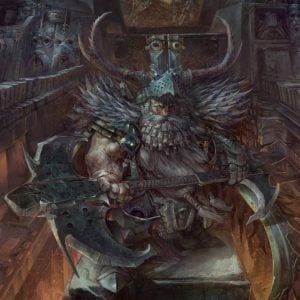
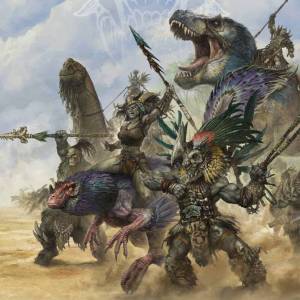
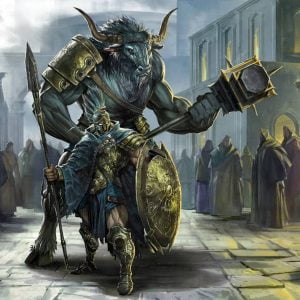
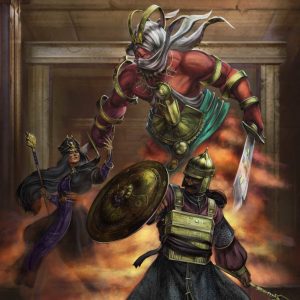
In this tutorial we will learn how to build some of the iconic Conquest bases you have seen on the cover photos of our Regiment kits!
Preparation: First of all, the base itself! Then, you will need some tree bark pieces, preferably from pine trees, sand or fine gravel and finally glue, super or wood glue will work just fine. For experienced base builders, wood chips for interior decoration are also a cheap and useful alternative when simulating rocks!
For this particular tutorial, we used pine tree bark, some fine sand, tiny grains of gravel and superglue.
Collecting your materials: Tree bark can be salvaged from the outdoor environment, so does sand and gravel. As a general principle, nature is the best place to look for basing materials. However, all of the materials can be found in stores as well. For example, the pine tree bark we used is sold as a material for interior decoration.
You may also use some static grass or flock, but that is optional. Generally, you can put anything from nature on your bases as long as you keep it relative to the scale of the miniature.

Step 1: Before we start building our base it is best to take a few minutes and dry fit your materials into place. Try to envision where you would want to place your rocks (tree bark in our case) and whether you would need to reshape it further by sanding, cutting or crushing it.
Regardless of your favorite method of rock smashing, make sure to have a large old brush at hand to remove any dust and tiny particles from the pieces of basing material you will end up using. This will ensure that debri will not interfere with your primer or layers of paint.

Step 2: Once you have decided on the final layout of your base and glued down the larger pieces of basing material it’s time to move on to the dirt and gravel.
For that, we mix the fine sand and gravel in equal parts. Take some of your glue, super or wood glue is fine, and start pouring it on the parts of the base not already covered by basing material. Oftentimes you might find it usefull to use paperclips or your hobby knife to ensure a good spread of the glue on the base. Make sure that you use old hobby tools or brushes when working with any kind of glue, as contact with adhesives will dull blades and ruin the bristles of any brush.
When the glue is evenly distributed throughout the base you can start pouring your dirt – gravel mix onto the base. Let the dirt soak some of the glue for a couple of secods and then flip the base to get rid of excess material. Once that is done let the base cure completely before doing any more work on it.
Beginner’s tip: When applying dirt it is good to work over a surface such as a large tray or piece of paper. This way you can collect the discarded excess material and store it again in its container until it’s time to build your next set of bases. This way you will waste a lot less dirt and gravel and save quite a bit of money if you’re using store-bought products!
Once the base is fully cured it is ready to be primed and painted! At this point only your imagination is the limit, you may want to add bits and pieces of spare models to represent fallen enemies, wooden sticks as palisades or even plastic plants (that will be painted over) to represent different kinds of flora.

Step 3: Once the painting is done you may apply some static grass or flocks. Flocks usually have a an adhesive bottom part, so they can be easily applied, for extra strength you may add a tiny bit of super glue. Static grass however, would need an approach similar to dirt and gravel (see Step 2).
If you are wondering whether we missed the exact painting techniques and colors don’t worry we will do a separate guide helping you decide how to paint your bases.
Ultimately there are no set colors, or set techniques to bring your bases to life. The ground on which your miniatures walk upon needs to reflect what your force represents, where they have been and what they aspire to become. It is your story and it should be told your way.
For those that still require a bit of guidance, consider painting your bases lighter colors if the main color of your army is dark and vice versa. Consider flock and grass as another way to add color to your palette and overall detail.

How did this tutorial work for you? Post your painted Conquest miniatures with the #ColorsofConquest handle and show us your bases and Stands!
Make sure to click on the button below to join our Conquest The Last Argument of Kings Discord server for more events, hobby ideas and competitions!