


Whether as proof of a great kill, decoration or piece of Spire armor, bone is an important part of painting Spires and other factions alike!
In this tutorial we will discuss in detail how to paint bone to a high level, making your Characters and elite Regiments stand out!
Today we will be using colors from the Vallejo Game Color range however, we will also be releasing the same guide using other color ranges as well!
Preparation: To start the bone off we apply a white undercoat. It is recommended to apply it by airbrush or spray to keep the layers thin and uniform. However, you can also do it by brush, making sure you go for multiple thin coats.
Step 1: Once the white undercoat has set and dried it is time to start working on the bone surfaces. To start off we will apply a base layer of VGC Khaki (70%) and VGC Heavy Charcoal (30%) mix.

Step 2: Having applied a uniform and opaque base layer it is time to start placing the shadows, focusing mainly on the recesses and crevices of the bone. To do so, we use the same colors from Step 1 with a mix of VGC Khaki (40%) and VGC Heavy Charcoal (60%).

Step 3: Finishing off the shadows, we apply pure Heavy Charcoal into the deepest point of the recesses paying great attention to not paint over other colors we have applied so far. A good way to think about approaching this is as if you are highlighting in reverse. Having done so we have created enough contrasting shadows that will accentuate our highlights further.

Step 4: Having shaded the bone it is time to start recovering the lost volumes from sketching the shadows. To do so we return to our base layer mix (Step 1) and add a bit of VGC Bonewhite. At this point you will start noticing a fair amount of contrast already!

Step 5: Moving on we will work towards highlighting the bone and further increasing the contrast between the darkest recesses and lightest highlights. To do so we add even more Bonewhite to our original base layer mix (Step 1). We then proceed to highlight by stippling the mixture on to the surfaces that would catch the most light.
In order to stipple use the sharp tip of the brush to make swift and random dots over the elevated surfaces of the bone, that way we create texture and make the bone seem more pore-like.

Step 6: Finally we finish the bone by highlighting further using the same technique as Step 5, Stippling, but this time we use VGC Dead White and focus near the edges. Pay attention to leave the dots from Step 4 visible achieving a good gradient of colors.
In 6 Steps you are now able to make your Characters and favorite models stand up and shine on the tabletop!
How did this tutorial work for you? Post your painted Conquest miniatures with the #ColorsofConquest handle and show us how you paint bone and chitin!
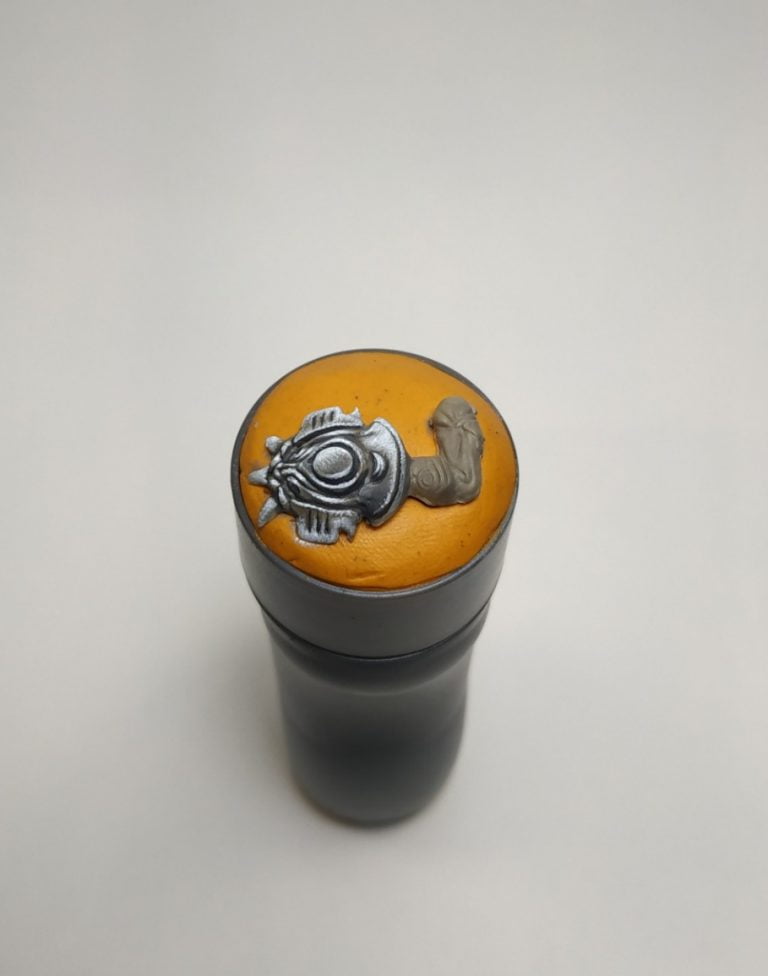
If you would like to find the parts shown in this tutorial you can check out the Vanguard Clones!